REMOTE VALUES
INTRO
In this chapter we are going to talk about Remote Values. Remote Values allow you to set specific information from remote client such as JavaScript to a certain field in the screen. So you can for example increment or decrement numeric values or set specific strings and we are going to show you some JavaScript examples on how to do that. Now Remote Values could really have a lot of different applications. In this example I am going to show you how to use Remote Values to setup Queuing, to setup a Teller and to setup a Scoreboard. The Queuing application is normally use when you have a lot of people standing around and are waiting to be served on, so they go on pick up a particular number from a number machines and when their number is up they know it’s their turn. So we will show you how to setup Queuing. Teller is normally what you see in the bank where people are standing in line and you have an arrow pointing them in the right direction when the next Teller is available. And the Scoreboard is something you will normally see in a Basketball game for example where each team has a score, so you can use for example a mobile device to control the scoreboard, set particular values such as score, the number of fouls. So we will show you how to setup the Scoreboard as well.
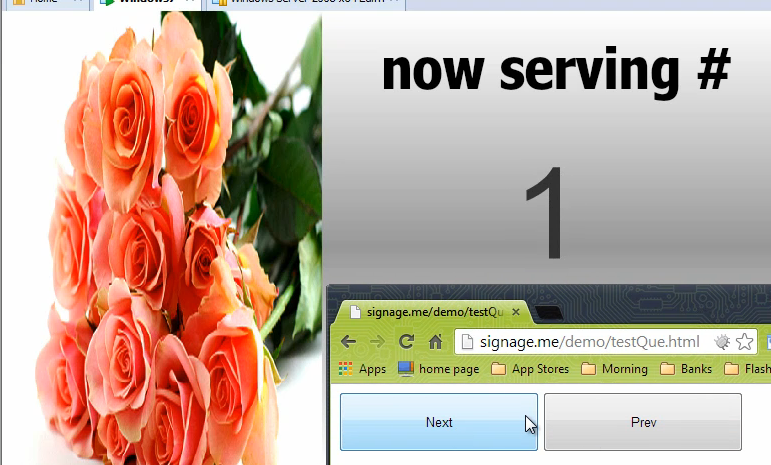
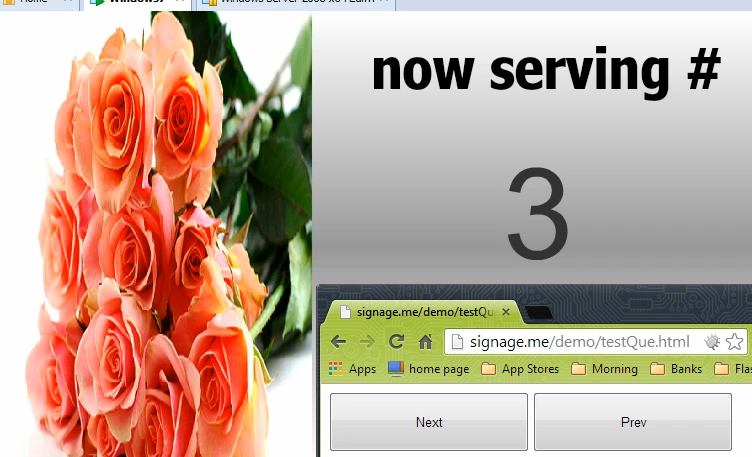
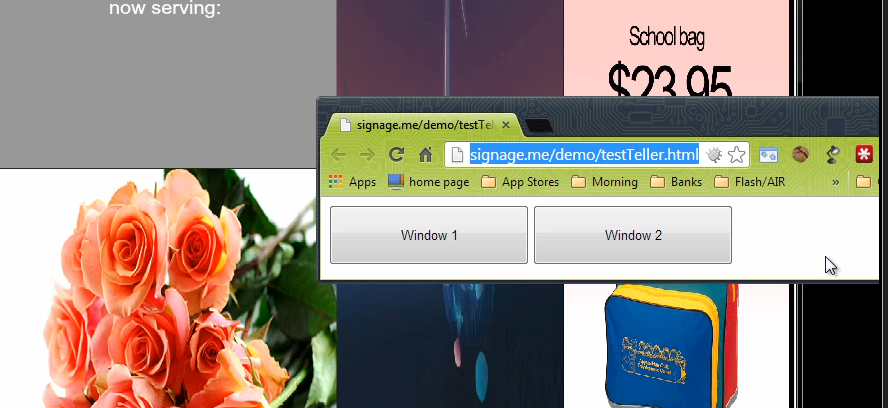
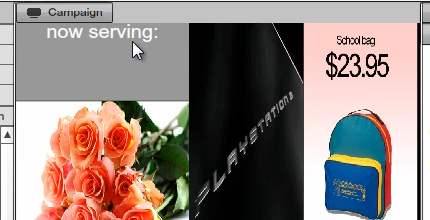
So here we have a very simple presentation, we have an image of a flower and some RSS running at the bottom and we have the now serving typically you will see in a bigger Store, if you just have customers walking around and picking up numbers and waiting to be served upon. And once the business owner can serve the next person he clicks on this button on any PC or mobile device or a Tablet that pulls up a HMTL website just like this. And once you can serve the next customer, you can click on the next and this moves up to the next customer.
|
|
|
|
Of course you can also place sound if you want to, we just keep on playing next, next or you can go previous, so very, very simple.
|
|
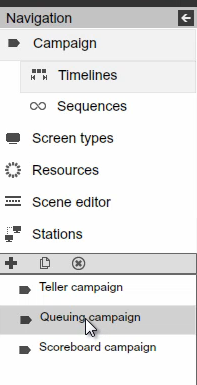
So we will go ahead and show you how to set this up. We have three Campaigns setup: Teller, Queuing and Scoreboard so let’s go and review the Queuing first since we just showed you the demo for that.
|
|
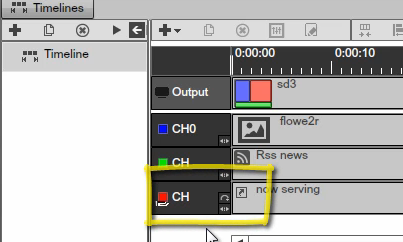
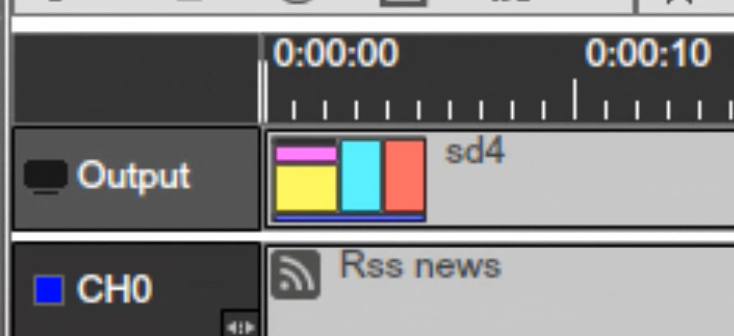
And you will notice that we have setup a Common Channel, the reason why we are using a Common Channel is because we don’t want the numbers to get reset every time the Timeline restarts.
|
|
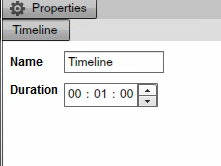
You can see the timeline is only one minute in length and obviously you want the numbers that are incremented by the Store owner to continue and progress up, so we am using a Common Channel so the numbers don’t get reset.
|
|
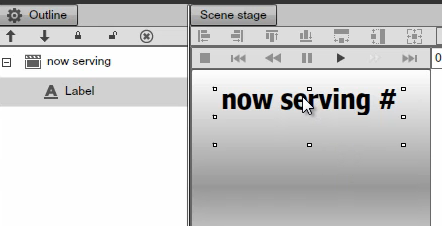
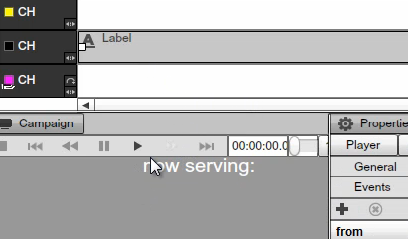
So now we switch to the Scene Editor and we are looking at the Now Serving Scene that is setup right now with just a simple label Now Serving.
|
|
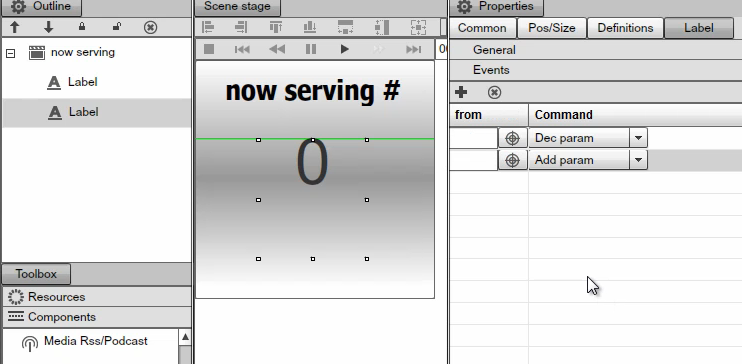
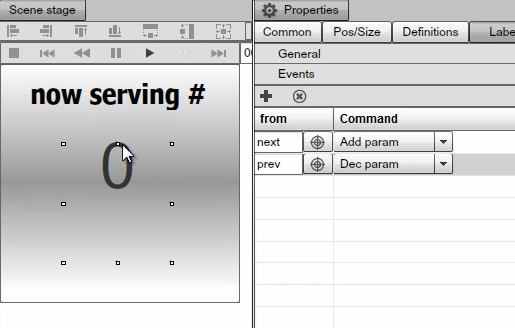
So next what we are going to do is we are going to drag over from the components a regular Label component then make this look kind of like in our presentation where we have a larger font and put the value of 0, change the color and center it. At the bottom of the Label properties we have a value called Events. So we select Events and in this case we are going to add two Events.
|
|
We will call the first Event 'Next' and we can call this anything we want, and also call the second one 'Prev' for previous and set this to be Add param and Dec param or in other words Add value to the numeric value or Decrement the value so plus one or minus one. We will go at and save our changes.
|
|
So next we will review the HTML configuration. Now this file you can host on your own server anywhere online or even within a local PC and you can simply use it to increment or decrement the values just like we showed you in the example.
|
|
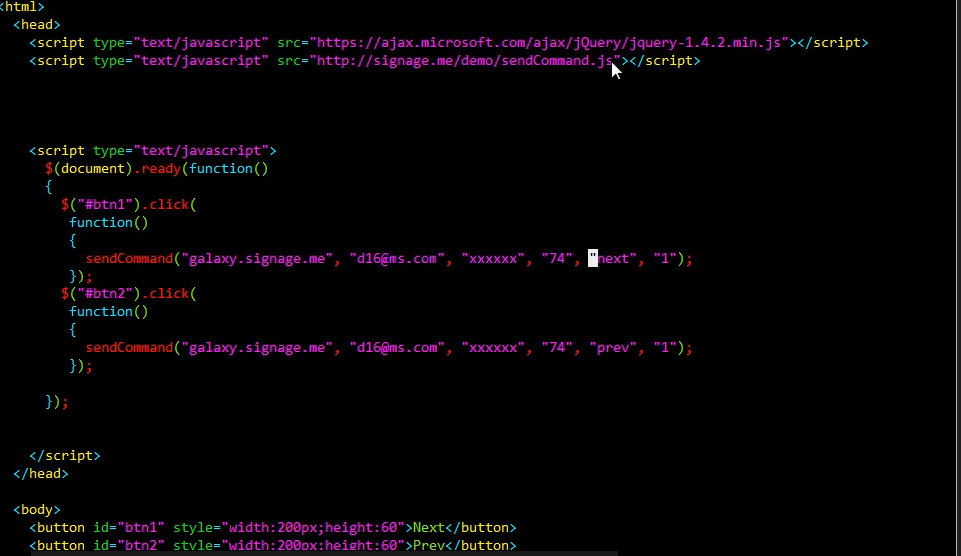
So the first thing you want to do is you want to make sure that you include these two library files and this will be both the Jquery, Jquery 1, 4, 2 from this path right here and then also we are grabbing the send Command library from our server. So these two files you want to make sure that you have in your HTML file.
|
|
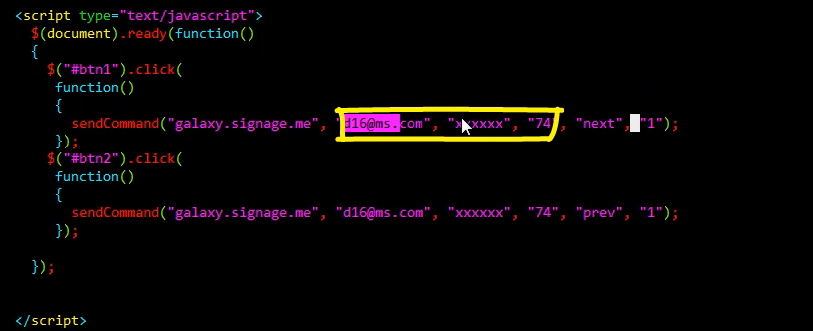
And if you guys wanted to get the source code from this as an example you can go to http://signage.me/demo/testQue to grab the same source code but you will need to modify few things though. You will need to modify the username in this case its d16@ms.com so you want to make sure that you put in your username for your login account, you want to make sure that you put in the password instead of xxx and you want to make sure that you change the 74, which is the Station ID. The actual events that were sending 'Next' and 'Prev', you guys can keep it if you like these Event names and the value of '1' you guys can keep as well. So the things you will need to for sure change will be the username and the password and the Station ID.
|
|
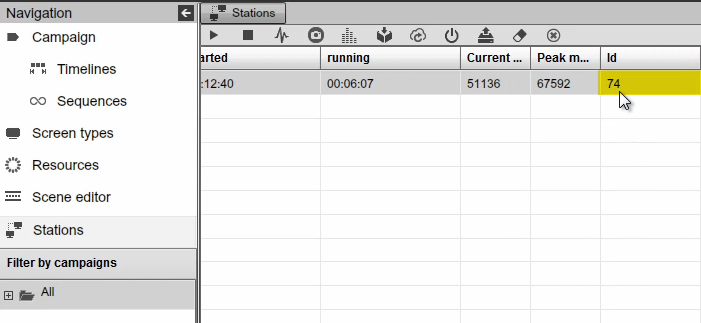
So where do you grab the Station ID? The Station ID you grab from the Stations section of the Signage Studio, so here we switch over here to the stations section of the Signage Studio and we have one station that's running that we actually send the events to. If we scroll all the way to the back you will see that it has an ID of 74 and if you wanted to send this to multiple stations off course you can just write a JavaScript loop that send it to multiple station ID's.
|
|
And in our case we are just sending into a single station ID and you can also notice that this particular station is running our Queuing Campaign.
|
|
So if we switch back to the code we can confirm that 74 is the right Station ID. The username, password you guys can obviously enter and you guys know your username and password. And the value of '1' means that we are going to increment by 1, if for example you want to increment by 2 or increment by 4, you can simply change the value, same thing for decrement. We will simply decrement by 1 and of course you guys can change the increment or decrement value, in most cases we think you will end up using the number 1 for both. And that’s it, we are done, we have setup this ‘Now Serving’ campaign with two strings of 'Next' and 'Prev' by adding param and decrementing that numeric param for these two events. So that was simple enough and now let’s go at and move to the Teller Campaign.
So next we are going to check out the Teller application, this will be again just like a Bank or you need to tell people when the next Teller is ready and available. And what we have done was we developed a very simple script in JavaScript and we will review that in just a second. And of course this could be running at the Tellers, so they can actually control this via their Windows PC or via their MAC or via their Mobile device or Ipad. So again just a very simple HTML demo and you guys can download it from this path over here, just keep the upper and lower case letters are same just like in our example.
|
|
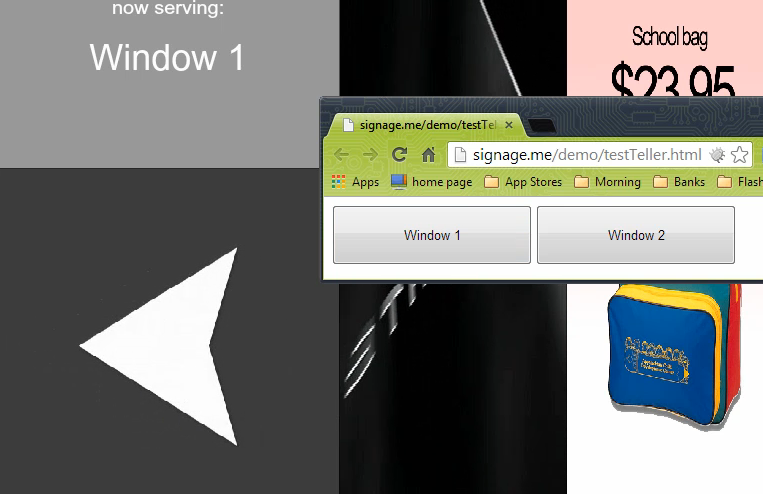
And you see that as soon as we click on window 1 will move the collection to the next value which will be a video with an arrow and the sound as well as the label value will change.
|
|
And again same thing when Teller 2 is ready he will click on window 2 and we will have a different video with a different value. So we will go at and show it to you how to set all this up.
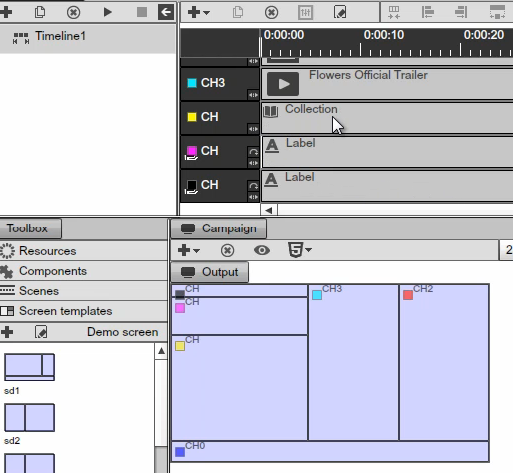
So here under the Teller campaign you will notice that we have multiple screen divisions and we have setup two Common Channels and one regular Channel. On the regular Channel we have put the collection and on the Common Channel we have put two labels.
|
|
So I will go and click on Play and you see the collection right here with the flowers and then the two labels right here on the left side which is Now Serving and there is another label in the pink screen division just below that you can’t see the value since we haven't click on the JavaScript just yet.
|
|
Now let’s review our setup really quick. What we have here is we have a Common Channel just like before because we don’t want the information to get reset every time the Timeline restarts. So we are using a Common Channel again you don’t have to but that’s the recommended way. So next we will go at and actually delete the collection so we can setup from scratch. We will delete this label as well. So all we have that just is one label that says Now Serving and this is just a static label.
|
|
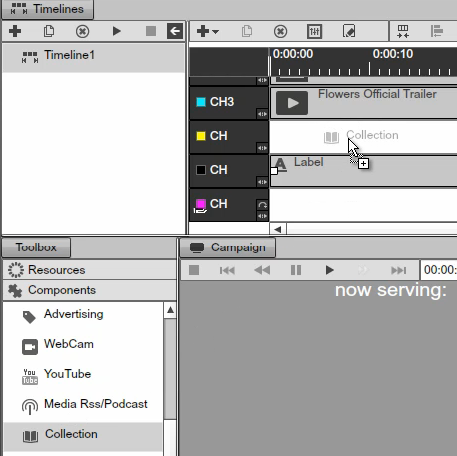
So the first thing you want to do is you want to go at and then add to the yellow channel which is going to be right here our collection that will show the default flowers but will also show the left arrow and the right arrow depending on which Teller is clicking on which button.
|
|
So we will go over to collection, drag and drop it to the yellow channel, extend it to the full length of the Timeline and double click it to load up its properties.
|
|
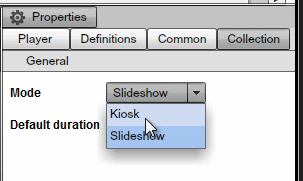
We will select this the actual Kiosk as we want to have the items in the events so select Kiosk.
|
|
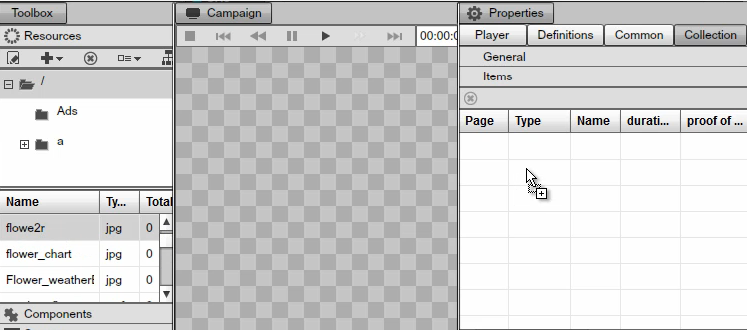
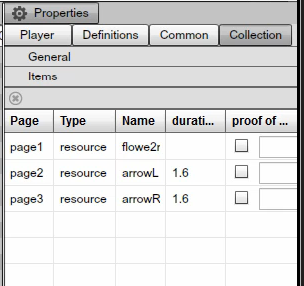
Now we have the Events as well so we can listen to Events. The Events are going to come from JavaScript. Now we will switch to items and all there from Resources we will go at and select our flowers, that will be our default item, the first item.
|
|
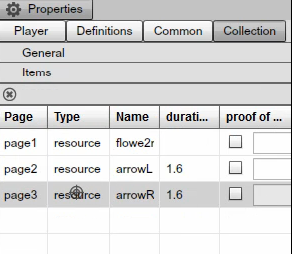
Then we will go and select the two videos, the left and right videos. So we are putting all the content that you want to be able to watch and control in the collection.
|
|
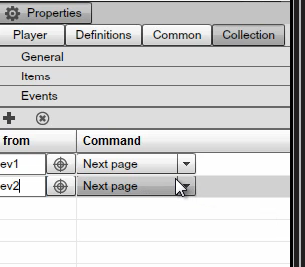
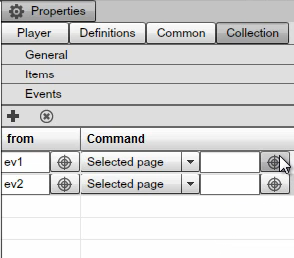
Next we will switch to Events and will add couple of Events, going to call this our Event1 and our Event2 and again this could be any string you want as long as you pair it up with the JavaScript.
|
|
And now we will go and select go to ‘Selected Page’ and again go to ‘Selected Page’, we will hold down the target icon and select arrow left video, and again hold down the target and page3 for arrow right video and we will go and save our work.
|
|
|
|
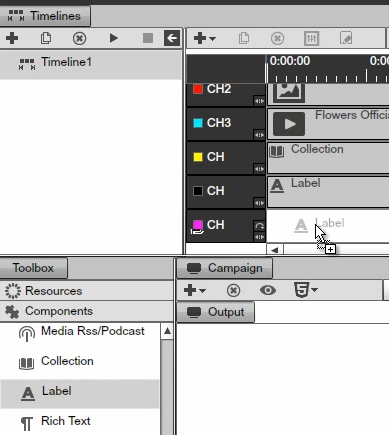
So now we have setup our collection lets go and setup our Label, go to components, select the Label just like before put it directly on the Common Channel, extend it for the full length of the Timeline, double click to load up its properties.
|
|
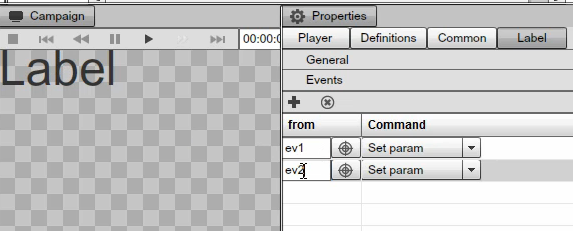
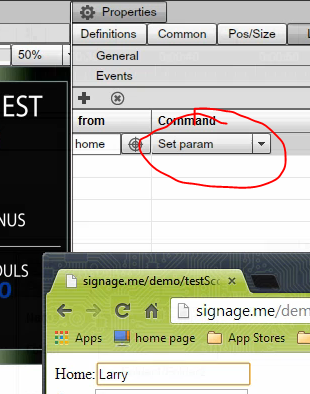
And we will go and set the color and the font size. Next select the Events and we will go and setup two Events, so we are going to set Event1 and Event2 and notice using the ‘Set param’ so anything that comes from the JavaScript for Event1 will end up coming to this label and also if anything comes from Event2 it will actually go up and appear on the same Label.
|
|
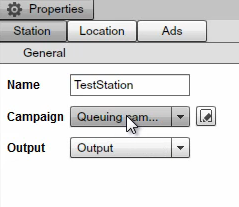
Next we will switch to Stations and make sure that this time our Station is going to run the Teller Campaign and we will go ahead and save our work.
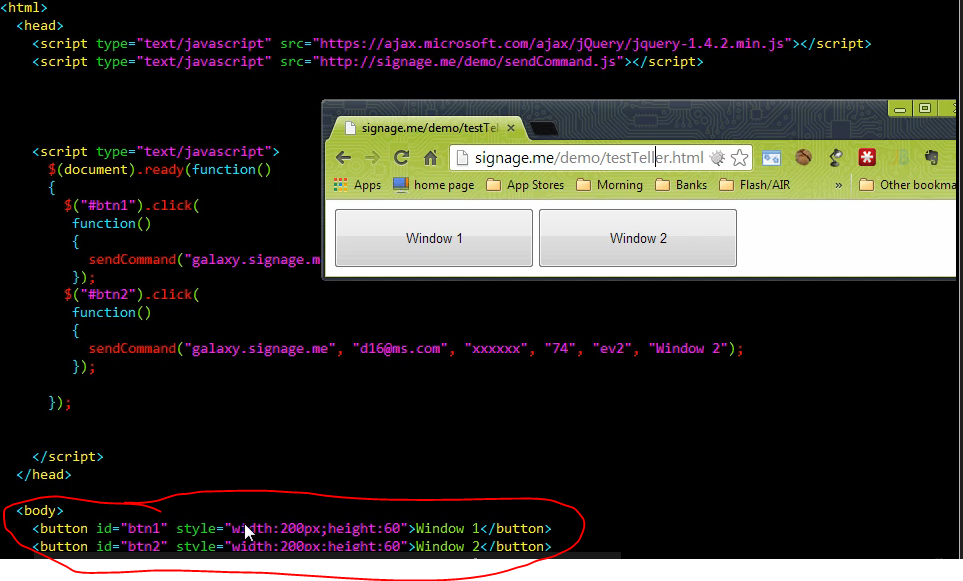
So here now we are looking at the test Teller HTML sample file and just like before we are using the Jquery library file and the sendCommand, so all this is should be pretty familiar to you by now.
|
|
Username and password just like before and the Station ID just like before and as you remember we setup Event1 and Event2 as the string for the actual Label as well as for the collection and if we bring back the sample HTML file you will see that we have two buttons 'window1' and 'window2' just like over here for button1 and button2, window1 and window2.
|
|
So when button1 is pressed for window1 you will see that we will send Event1 and when window2 for button2 is pressed we will send Event2 and so the Label will change according to the text that appears next to the event and the collection will pull up the video that matches the Event ID. So that can be either Event1 or Event2.
|
|
So using this Event1 and Event2 we are able to bind it to the actual sendCommand Event to the actual screen and set the values. So this should be pretty straight forward just like our Queuing example. So we have covered the Teller and we have covered the Queuing, so let’s go and then show you how to setup the Scoreboard.
Select the Station and select the Campaign to be the Scoreboard, save the changes, restart the player with the right campaign.
|
|
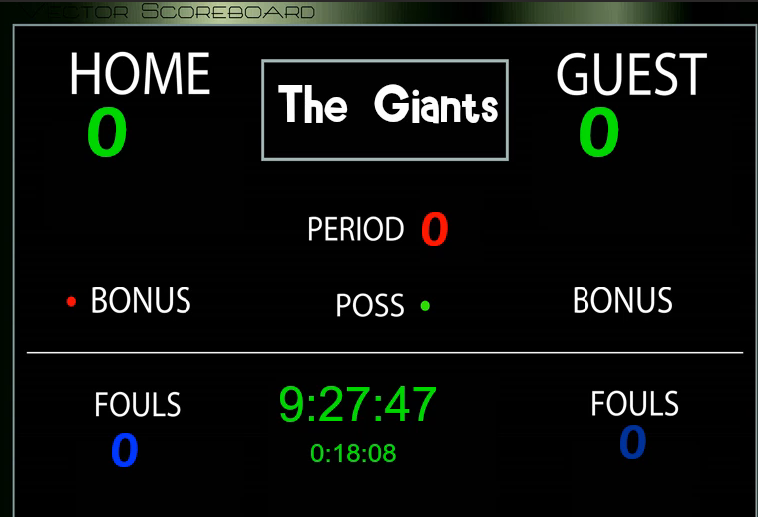
So over here we are looking at the Scoreboard, something that you will see like in a Basketball game and we have setup a very simple JavaScript client and the JavaScript client of course can run on a Mobile device and one of referees can control the screen using his Mobile device.
|
|
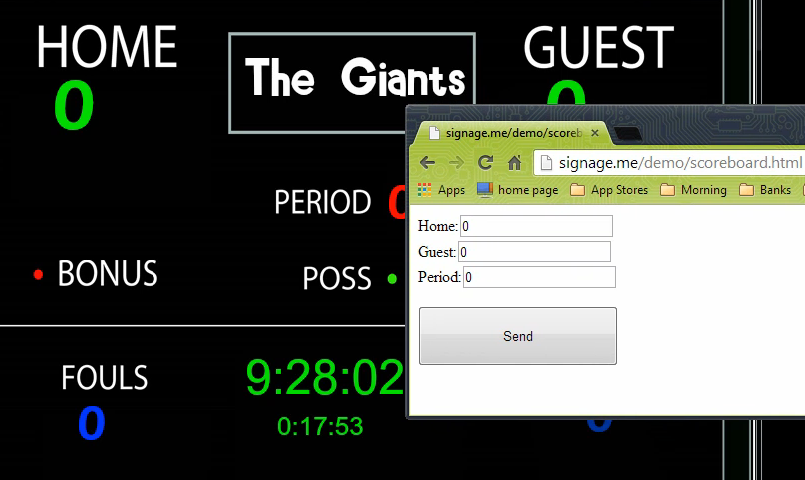
And let’s go and bring see the three values we can set.
|
|
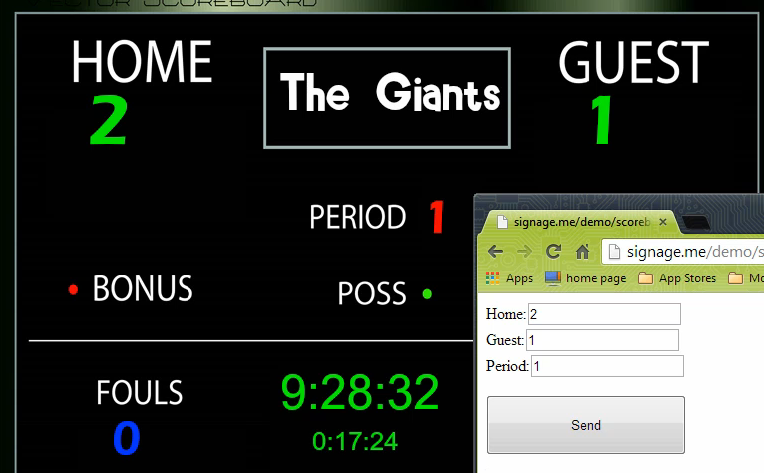
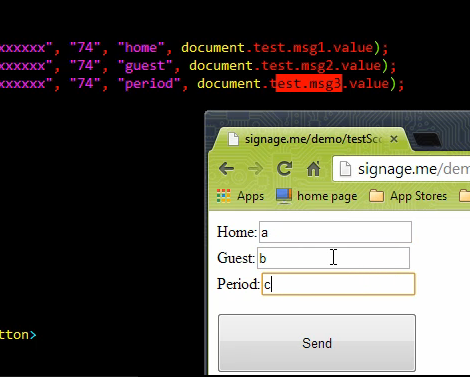
We can set the Home, the Guest and the Period. So we will go ahead and set the Home score to be 2, the Guest score to be 1 and Period number 1 and click on Send and you can see the values were set accordingly.
|
|
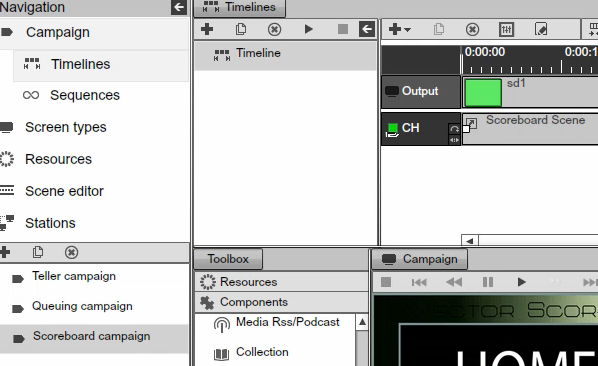
So let’s go and then switch to the Timelines, switch to our Scoreboard campaign and you see that we just have a full screen with the single screen.
|
|
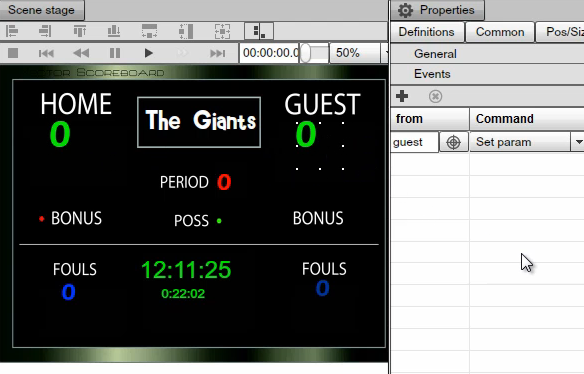
So let’s switch to Scene and see how we set everything u. Sure enough we have the Label setup Period for one Label, we have Home for next Label and we have Guest for our third Label.
|
|
So pretty straight forward then we have just added a clock at the bottom and just for fun we have also setup a countdown component that counts down the minutes and the seconds. In the back we just have Resource an image that of course you can modify and do whatever you want with. So a very simple Scene with three Labels but also is very powerful because you can control this from a remote device like a Phone or Tablet.
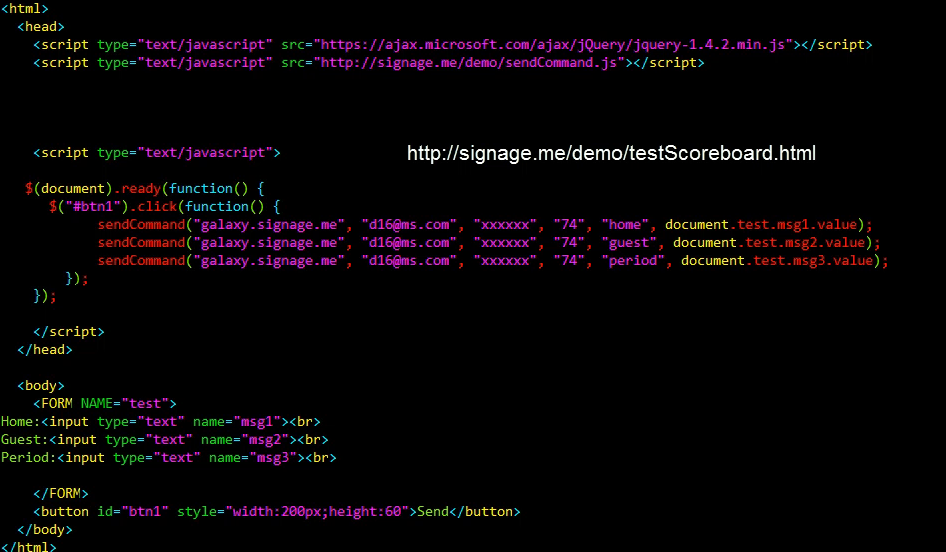
Now let’s go and review the actual JavaScript. So you can download this sample Scoreboard from http://signage.me/demo/testScoreboard.html with the capital S for the Scoreboard and just like before we have our Jquery library and our sendCommand library and we have the three text boxes, message1, 2 and 3 three inputs and we are sending whatever value is in test message1, test message2 and test message3 respectively.
|
|
The key to remember is that we are sending the Home, the Guest and the Period Events and whatever value as we put A, B and C these values will get sent to the player according to the right Event.
|
|
|
|
Now keep in mind that in this case we are using the set value so if you wanted to put something like you know a name and send that to the screen you can do that, so any could be set not just a numeric value.
|
|
So we hope you have enjoyed this chapter and we hope you now appreciate just how easy it is to set up Remote Value configurations so if you wanted to setup Remote food menu board or remote sales board or even a remote building directory board all these could easily be created and you can allow others to modify the content through a simple HTML interface.
Copyrights MediaSignage© Inc
